What is the rule of thumb for outdoor lighting?
Outdoor lights play a crucial role in safety, usability, and curb appeal. Getting the balance right between brightness, energy use, and ambiance can be tricky, but a simple rule of thumb can guide most residential and small commercial installations. This guide outlines practical guidelines for choosing, placing, and regulating outdoor lighting to help you create a welcoming and secure exterior space.
Introduction: why outdoor lighting rules of thumb matter
Good outdoor lighting enhances visibility for pathways and entrances, deters intruders, and highlights landscape features without causing light pollution. A rule of thumb provides a quick, actionable framework you can rely on when planning a lighting scheme for patios, gardens, driveways, and entryways. In this post, we’ll cover a practical approach to selecting outdoor lights, determining placement and brightness, and managing energy efficiency.
The three-layer lighting approach: ambient, task, and accent
A standard rule of thumb for outdoor lighting is to think in layers: ambient, task, and accent lighting. Each layer serves a distinct purpose and together they create a balanced, functional space.
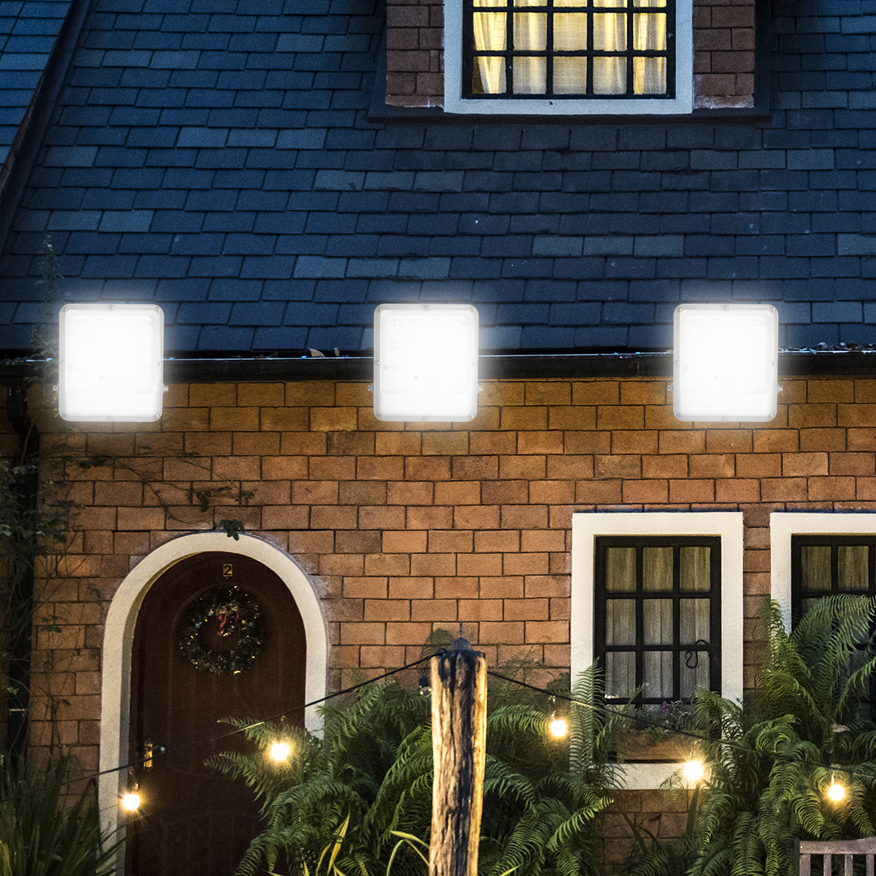
- Ambient lighting: provides general illumination for safety and atmosphere. Use evenly distributed outdoor lights such as wall-mounted fixtures, bollards, or path lights.
- Task lighting: focuses on specific activities like grilling, unlocking the door, or reading on a patio. Place brighter lights where you need precision and visibility.
- Accent lighting: highlights architectural features, trees, water features, or artwork. Keep these lights lower in brightness and focused to avoid glare.
In practice, the rule of thumb is to ensure each area receives enough light for its function while avoiding over-illumination. As a rough guide, aim for a minimum of 5-10 lux on walkways and entry paths, and consider higher levels for high-traffic zones or work areas.
The 2-to-1 rule for brightness and spacing
Another common guideline is the 2-to-1 rule: brighter lights near the primary entrance and gradually softer lighting as you move away. A practical interpretation:
- At the entry: use lighting with a higher lumen output to clearly illuminate the door and doorstep.
- Along pathways: place lights at regular intervals with moderate brightness to guide footsteps without creating glare.
- In the garden: use lower-intensity accent lights to reveal textures and depth.
This rule helps create a welcoming focal point at the entry while ensuring seamless transition across the space. Adjust lumen levels based on the mounting height, beam angle, and the reflectivity of surrounding surfaces.
Beam angle, height, and spacing: the practical math
A reliable rule of thumb for outdoor lights is to consider beam angle, mounting height, and spacing as a simple math problem. For safe, consistent coverage:
- Beam angle: narrow beams (20-30 degrees) are ideal for highlighting features or doorways; wider beams (60-120 degrees) provide general area illumination.
- Mounting height: typical residential heights range from 2 to 3 meters (6.5 to 10 feet). Higher mounting reduces glare but can wash out details; lower mounting increases brightness perception and may cause glare if not shielded.
- Spacing: place lights at intervals roughly equal to the mounting height. For example, at 2.5 meters high, space lights about 2.5 meters apart for even coverage along a path.
These guidelines are starting points. You should adjust based on the specific landscape, stairs, steps, and architectural features, as well as personal preference for brightness and contrast. Always test with temporary lighting to evaluate shadows and glare.
Energy efficiency and control strategies: smart lighting
A practical rule of thumb is to pair outdoor lights with energy-saving controls. Use LED fixtures when possible, as they consume far less energy and last longer than traditional bulbs. Complement LEDs with smart controls such as timers, motion sensors, and dusk-to-dawn sensors to minimize unnecessary lighting.
- LED efficiency: look for high lumens-per-watt rating and good color rendering (CRI) to keep spaces natural-looking.
- Controls: motion sensors are ideal for entryways and garages, while dusk-to-dawn sensors suit boundary lighting and garden accents.
- Zoning: set different controls for zones like the driveway, porch, garden beds, and backyard paths so you only light what you use.
This approach not only saves energy but also reduces light pollution and extends the life of outdoor lights.
Style, finishes, and durability: choosing the right outdoor lights
A practical rule of thumb is to match your fixtures to the architecture of your home and the landscape style. Consider:
- Finishes: choose weather-resistant finishes (bronze, black, or brushed nickel) that resist corrosion and blend with your exterior.
- Materials: durable materials like aluminium, steel, and high-quality plastics withstand weather and UV exposure.
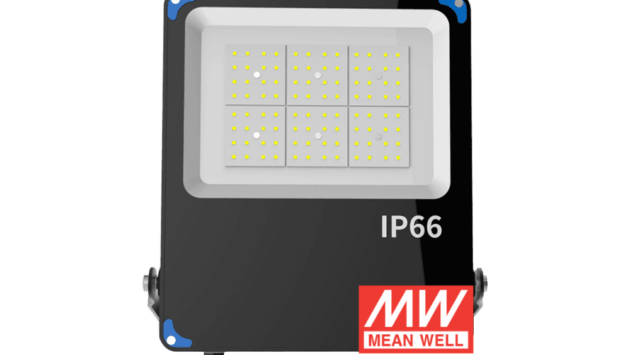
- Weather rating: look for IP ratings appropriate to your climate (rain, snow, humidity).
- Mounting and wiring: ensure fixtures are correctly sealed and installed with safe, low-voltage or line-voltage systems as appropriate.
Final thoughts: applying the rule of thumb in real life
Outdoor lighting guidelines are not a one-size-fits-all solution. The rule of thumb is to simplify decision-making while still achieving safe, comfortable, and aesthetically pleasing spaces. Start with a layered approach (ambient, task, accent), apply the 2-to-1 brightness/spatial rule near entryways, and use beam angle and mounting height as a basic calculator for even coverage. Pair with energy-efficient LED fixtures and smart controls to keep ongoing costs down and maintain flexibility for future changes.
By thoughtfully planning, testing, and adjusting, you can create an outdoor lighting scheme that enhances safety, beauty, and usability long after sunset, while keeping outdoor lights energy-efficient and visually harmonious with your home.