LED Lighting Selection Process for UK Commercial Facilities
Choosing the right LED lighting for a commercial facility often feels complex, especially when each space—from bustling office floors to chilled warehouse units—has unique needs. Facility managers across the United Kingdom know that poor lighting can disrupt productivity, raise energy bills, and affect staff wellbeing. By focusing on site-specific lighting requirements, you can make decisions that support compliance, reduce operational costs, and create safer, healthier workplaces. This guide outlines the practical steps for assessing, calculating, and implementing effective LED solutions tailored for British commercial properties.
Table of Contents
- Step 1: Assess Site Lighting Requirements
- Step 2: Calculate Required Lighting Levels And Coverage
- Step 3: Select Suitable LED Products For The Environment
- Step 4: Check Compatibility With Existing Electrical Systems
- Step 5: Verify Energy Savings And Expected Lifespan
- Step 6: Arrange Professional Installation And Final Testing
Quick Summary
| Key Insight | Explanation |
|---|---|
| 1. Assess lighting needs | Understand specific activities to determine lighting requirements across different spaces in your facility. |
| 2. Calculate lux requirements | Determine exact illumination levels needed for various tasks to enhance productivity and ensure compliance with standards. |
| 3. Select suitable LED products | Match LED specifications with environmental conditions to avoid premature failure and ensure suitable performance. |
| 4. Check electrical compatibility | Ensure existing electrical systems can safely support new LEDs to prevent operational issues and hazards. |
| 5. Validate energy savings | Calculate baseline and expected energy consumption to justify the investment in LED lighting. |
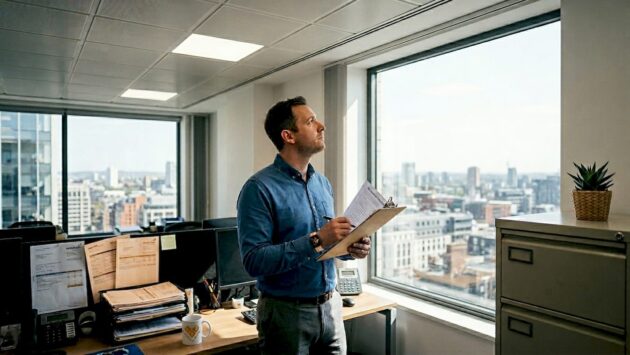
Step 1: Assess site lighting requirements
Before you purchase a single LED fitting, you need to understand exactly what your facility requires. This step forms the foundation of your entire lighting upgrade. Getting it right means you’ll install the correct solution first time, avoiding costly mistakes and ensuring your staff works in an environment that supports both productivity and wellbeing.
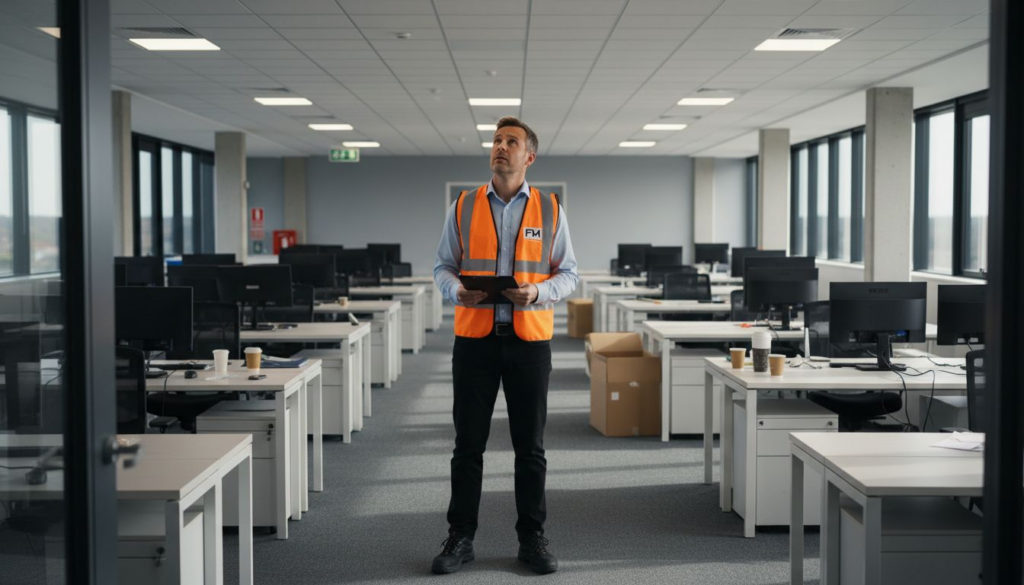
Start by identifying the specific activities happening in each area of your facility. A warehouse floor has entirely different lighting demands than a customer-facing reception area. Office workers need task lighting at their desks, whilst a retail shop requires bright, even illumination to showcase products effectively. Walk through your premises and document what happens in each space. Pay attention to the nature of the work being performed because proper lighting environments support employee performance and influence how people feel throughout the day.
Next, assess the existing lighting setup. Measure the current light levels using a light meter if possible, or note which areas feel dim, harsh, or uneven. Check your existing infrastructure including wiring, ceiling heights, and any obstacles that might affect light distribution. This information tells you whether you can retrofit into existing fittings or need new installations. Consider factors like natural daylight entering through windows, which affects how much artificial lighting you actually need at different times of day. Different tasks demand different illumination levels. A retail clothing store might need 500 lux to display merchandise properly, whilst a warehouse picking area could require 300 lux, and detailed assembly work might need 750 lux or higher.
Document the British Standards that apply to your facility. Following updated standards like EN 12464-1 limits risks associated with poor lighting and ensures compliance with workplace regulations. These standards specify minimum light levels for different activities, colour rendering requirements, and glare control specifications. Your assessment should record the square footage of each area, ceiling height, surface colours and finishes, and any special requirements such as emergency lighting or colour critical work.
Consider practical constraints in your space. High ceilings in warehouses require different solutions than standard office ceilings. Dark wall colours absorb light, meaning you need brighter fittings than in spaces with light, reflective surfaces. Damp environments like kitchens or bathrooms need specific ratings for moisture resistance. Cold storage areas need fittings that function at low temperatures. These real-world conditions directly influence which LED products will work best in your facility.
Finally, think about how people control lighting in your space. Do you want centralised control from a switchboard, local switches in each area, or automated sensors that adjust lighting based on occupancy and daylight? Some facility managers find that allowing workers some control over their immediate lighting improves satisfaction and reduces complaints. Understanding these operational needs now prevents headaches during installation.
Professional advice Document everything you discover in a simple spreadsheet or site plan, noting dimensions, existing light levels, and task requirements for each area. This becomes your specification document when discussing solutions with suppliers, ensuring you get quotes that actually match your needs.
Step 2: Calculate required lighting levels and coverage
Now that you understand what happens in each area of your facility, you need to determine exactly how much light you need and where it should be distributed. This calculation ensures you’re not under-lighting areas where staff need precision, and not over-lighting spaces where you’ll waste energy and money. Getting this right transforms your facility from feeling dim and uninviting to properly illuminated and efficient.
Start with the illumination targets for each space type. Lux is the unit that measures light falling on a surface, and different activities require different levels. General office work typically needs 500 lux, whilst detailed assembly or inspection tasks might require 750 to 1000 lux. Reception areas and retail spaces often sit around 500 lux, warehouse aisles around 150 to 300 lux, and storage areas around 100 lux. These aren’t arbitrary numbers. Evidence-based considerations for pedestrian safety and practical visual needs inform these targets, ensuring staff can work safely and comfortably. If you’re not sure which category your space falls into, refer back to the British Standard EN 12464-1 you documented in your site assessment. This standard provides specific recommendations for virtually every commercial activity.
For reference, here are typical lux level requirements for common commercial areas:
| Area Type | Recommended Lux Level | Business Impact |
|---|---|---|
| Office workstations | 500 lux | Supports concentration and accuracy |
| Detailed assembly | 750-1000 lux | Enables precision and productivity |
| Reception/retail | 500 lux | Enhances customer experience |
| Warehouse aisles | 150-300 lux | Improves navigation and safety |
| Storage areas | 100 lux | Reduces energy use, suitable for storage |
Next, consider how light spreads across your space. Uneven lighting creates shadowy areas and glare, both of which reduce productivity and cause eye strain. You’ll need to map out light distribution using a concept called uniformity, which is simply the ratio of minimum light level to average light level across a space. Most commercial spaces should achieve uniformity of at least 0.6 to 0.8, meaning the darkest point isn’t dramatically dimmer than the average. For high-ceiling spaces like warehouses, illumination levels and coverage should be calculated methodically to account for the distance between fitting and work surface. A high bay light 10 metres up throws light very differently than a ceiling light at 3 metres.
Calculate the number of fittings you need using a straightforward formula. Start with the room area in square metres. Multiply that by your target lux level. Then divide by the light output of your chosen LED fitting, which manufacturers list as lumens. For example, if your office is 100 square metres and needs 500 lux, you need 50,000 lumens total. If each LED fitting produces 5,000 lumens, you need 10 fittings. This simplified approach works well for initial planning. Account for age and dust by adding a 20 percent safety factor, since LED output degrades slightly over time and dust reduces efficiency. This means buying slightly more capacity than the bare minimum calculation shows.
Factor in your existing daylight conditions. Rooms with large south-facing windows get useful daylight during the day, meaning you can reduce artificial lighting. Rooms facing north or internal rooms with no windows need full artificial light throughout working hours. Some modern facilities use daylight harvesting controls that automatically dim artificial lights when sufficient daylight is present, reducing energy consumption without compromising visibility. Natural light also improves staff wellbeing, so maximising its contribution where possible benefits everyone.
Consider ceiling colour and surface finishes. Light colours reflect light and improve uniformity, whilst dark finishes absorb light and create dead zones. White or cream ceilings reflect about 70 to 80 percent of light, whilst dark grey reflects only 30 to 40 percent. This affects how many fittings you actually need. A dark ceiling might require 20 percent more light output to achieve the same working level as a light ceiling.
Professional advice Create a simple lighting plan spreadsheet showing each area, its function, target lux level, area in square metres, and calculated lumen requirement. Share this with your LED supplier so they can recommend the exact fittings and quantities that will deliver the results you need.
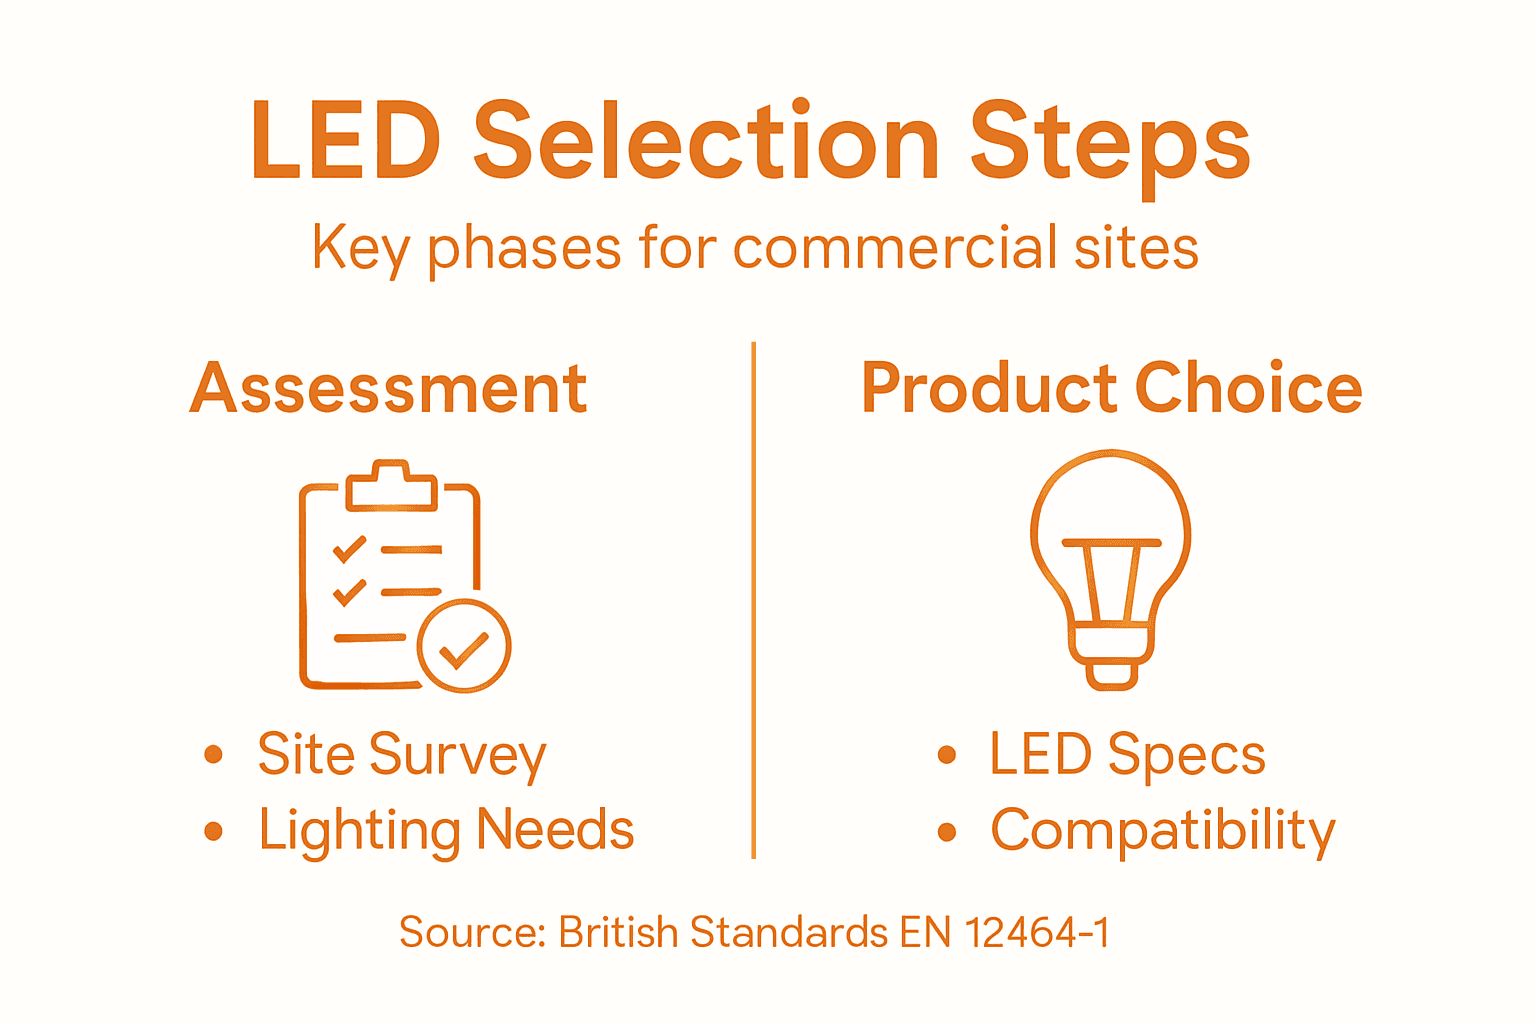
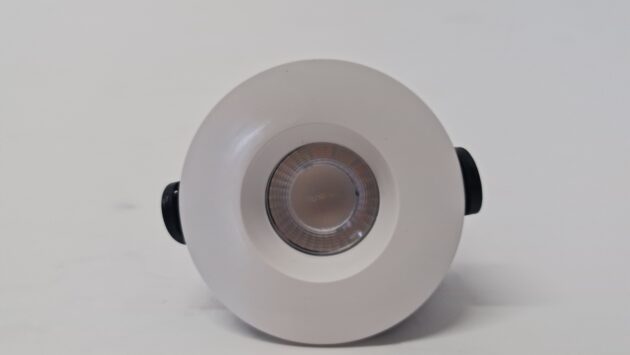
Step 3: Select suitable LED products for the environment
You now know your lighting requirements and coverage needs. The next challenge is choosing the right LED products that will actually perform reliably in your specific environment. Selecting unsuitable fittings leads to premature failure, flickering, poor colour rendering, and wasted investment. The right products last longer, perform consistently, and deliver the energy savings you expect.
Start by matching your environment to the product specifications. Your facility presents specific conditions that demand particular features. A food preparation kitchen needs moisture resistance and easy cleanability, which means sealed fittings with smooth surfaces rather than those with crevices that trap grease. A cold storage room requires fittings rated for low temperature operation, typically down to minus 20 degrees Celsius or colder. A warehouse with high dust levels needs fittings with adequate sealing to prevent particles from compromising performance. A retail shop where colour appearance matters needs fittings with a high colour rendering index of at least 90, so clothing and products look natural under the lights. Damp environments like bathrooms and laundries need IP65 or higher ingress protection ratings. Explosive atmospheres like petrol stations or pharmaceutical manufacturing require ATEX certified fittings. Your site assessment documented these conditions, so use that information to filter which product types will actually survive and perform in your space.
Examine the technical specifications provided by manufacturers with real scrutiny. Look beyond the headline claims and check the details that matter. Lumens output tells you brightness. Colour temperature measured in Kelvin tells you whether the light appears warm or cool. A 2700K lamp looks warm and yellowish, whilst 6500K looks cool and bluish. Most office and retail spaces suit 4000K to 5000K, which feels neutral and professional. Power consumption in watts shows energy efficiency. Compare lumens per watt across products to identify the most efficient options. Beam angle matters for placement and uniformity. A narrow beam concentrates light in a small area and suits spotlights, whilst a wide beam spreads light across a larger area and suits general illumination. Due diligence on manufacturer specifications and quality management ensures you’re comparing genuine products from reputable makers, not inferior imitations that underperform or fail early.
The following table summarises key LED fitting specifications and their relevance for different environments:
| Specification | Importance | Typical Application |
|---|---|---|
| Colour Rendering Index | Natural colour display | Retail, showrooms, offices |
| IP Rating (Ingress) | Moisture/dust control | Kitchens, bathrooms, warehouses |
| Operating Temperature | Reliability in extremes | Cold/freezer rooms, hot kitchens |
| Beam Angle | Uniformity and coverage | Offices, warehouses, spotlights |
| Warranty Duration | Lifecycle assurance | All professional installations |
Consider the lifespan and warranty carefully. Quality LED fittings last 50,000 hours or more, which translates to 10 to 15 years in typical commercial use. Cheaper products sometimes claim high lifespan but lack the internal quality to deliver it. Check whether the manufacturer offers a meaningful warranty, typically 3 to 5 years. A long warranty signals confidence in the product. Ask about driver quality too. The driver is the electronic component that converts mains power to the voltage the LEDs need. Poor quality drivers fail prematurely and can damage the entire fitting. Reputable manufacturers use drivers from established suppliers and test them thoroughly.
Evaluate environmental impact and sustainability credentials. LED technology offers significant energy savings compared to older lighting, but not all LEDs are equally sustainable. Check whether products contain hazardous materials and whether packaging is recyclable. Some suppliers provide lifecycle assessments showing the environmental cost of manufacture, transport, installation, and disposal. Energy efficiency and long-term sustainability considerations influence total cost of ownership. A slightly more expensive fitting that lasts longer and uses less energy delivers better value over time than a cheaper option that consumes more power and requires replacement sooner.
Get samples and test them in your actual environment before committing to bulk purchases. Lighting looks different under various conditions and colour temperatures that work in one space might not suit another. Install a sample fitting in a representative area, observe how it looks during different times of day, and gather feedback from staff who will work under it. This simple step prevents expensive mistakes that only become apparent after installation.
Professional advice Request product data sheets from your LED supplier covering all specifications, warranty details, and environmental information. Cross reference these against your site assessment requirements to confirm suitability before placing orders.
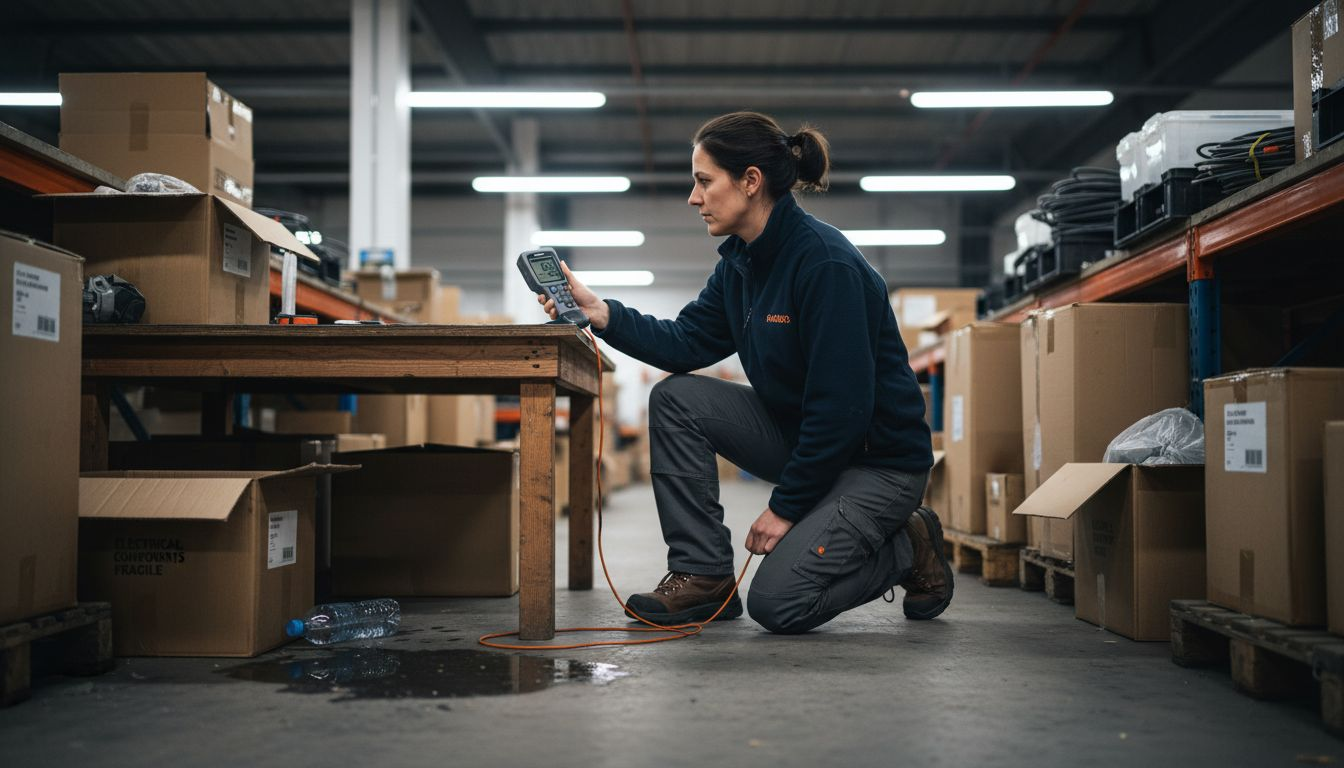
Step 4: Check compatibility with existing electrical systems
You have selected the right LED products for your environment. Before installation, you must verify that your existing electrical infrastructure can support them safely. Incompatible systems lead to flickering, premature failure, fire risk, and expensive emergency repairs. Taking time to assess compatibility now prevents these costly problems and ensures your installation operates reliably from day one.
Start by understanding your current electrical capacity. LED fittings draw less power than the halogen or fluorescent lights they replace, which sounds like good news but creates its own challenges. Your electrical panel has a maximum load rating, measured in amps. Adding new circuits or upgrading fittings requires checking whether you have spare capacity. Find your electrical distribution board and locate the main switch and circuit breakers. The main switch tells you your total available capacity. If you’re retrofitting a large facility with hundreds of fittings, the cumulative load matters. A single LED panel might use only 20 watts, but 100 panels use 2,000 watts. Your electrician can calculate the total load your new LED system will draw and compare it against available capacity. If you’re near capacity limits, you might need to upgrade your main supply, which adds cost and time but is necessary for safety.
Examine your existing wiring and control systems. Older buildings sometimes have wiring that’s aged, degraded, or undersized for modern demands. Wiring that worked fine for lower power consumption might struggle with new circuits or redistributed loads. Some older buildings use outdated control systems like mechanical timers or simple on-off switches that don’t work well with modern LED dimming systems. LED fittings with dimmers require compatible control gear to avoid flickering and to protect the LEDs. If your facility has occupancy sensors or daylight harvesting controls, these must be compatible with your chosen LEDs or you’ll lose the functionality you paid for. Evaluating load capacity and wiring standards ensures seamless operation without compromising existing infrastructure safety. Your electrician should check whether your existing conduit, cable trays, and junction boxes can accommodate new wiring runs or whether additional infrastructure is needed.
Consider the age and condition of your electrical distribution equipment. Circuit breakers, switchgear, and control panels degrade over time. Equipment installed 20 or 30 years ago might be near the end of its serviceable life. Installing new LED systems on ageing infrastructure creates risk. Some older equipment uses components that are no longer manufactured, making replacement difficult if failure occurs. This is particularly important in facilities with critical lighting like hospitals, data centres, or manufacturing plants where lighting failure causes serious disruption. An electrical survey by a qualified professional identifies whether your infrastructure is fit for purpose or needs upgrading alongside your lighting project.
Understand the control and dimming requirements. Modern LED systems often include dimming capabilities that older lighting couldn’t do. If you want dimming, you need dimming compatible drivers in your LED fittings and dimming compatible control gear. Standard on-off switches work with dimmable LEDs, but the dimming function won’t activate. Equally, if you connect dimmable LEDs to incompatible dimming systems, you get unpredictable behaviour or damage. Some facilities want to add smart controls for remote operation or automation. These systems communicate via wireless or wired networks and require compatible receivers in each fitting. Planning this at the compatibility stage means your electrician can run necessary cables during installation rather than retrofitting them later.
Address any necessary upgrades early. If your assessment reveals that your electrical system needs upgrading to safely support your new LED installation, better to know now. Upgrades might include increasing your main supply capacity, replacing ageing switchgear, or installing new control systems. Integration with established electrical systems requires assessment of compatibility standards and potential infrastructure upgrades to ensure both safety and functionality. These upgrades add cost and timeline to your project, but they’re essential. Attempting to install new LED systems on inadequate electrical infrastructure creates safety risks and operational problems that far exceed the cost of doing the work properly.
Professional advice Engage a qualified electrician early in your planning process to conduct a formal electrical survey of your facility. This assessment identifies compatibility issues, capacity limitations, and necessary upgrades before you commit to your LED purchase, allowing accurate project budgeting and scheduling.
Step 5: Verify energy savings and expected lifespan
You’ve selected LED products and confirmed electrical compatibility. Now comes the critical step of validating that your investment will actually deliver the promised energy savings and lifespan. LED suppliers make claims about efficiency and durability, but your specific facility circumstances affect whether you’ll achieve those benefits. Verification ensures you make informed financial decisions and can confidently justify the project to stakeholders.
Start by calculating your baseline energy consumption. Find your current electricity bills and identify how much you spend on lighting specifically. Many facilities don’t break this out clearly, so you may need to look at seasonal patterns. Winter months typically show higher consumption due to longer darkness, whilst summer months show lower consumption. If your facility operates 24 hours, this variation matters less. If you operate standard office hours, daylight affects consumption significantly. A facility lighting 100,000 square metres for 50 hours per week at an average of 500 lux using old fluorescent or halogen fittings consumes far more energy than the same space lit with LEDs. Document your current consumption in kilowatt hours per month. This baseline allows you to calculate realistic savings once you install LEDs.
Calculate the energy consumption your new LED system will require. Your LED supplier should provide detailed specifications including power consumption in watts for each fitting type. Multiply watts by hours of operation to get watt hours, then divide by 1,000 to get kilowatt hours. For example, if you install 50 LED panels each consuming 40 watts and they run 40 hours per week, that’s 50 x 40 = 2,000 watts, or 2 kilowatts. Running for 40 hours weekly means 80 kilowatt hours per week, or roughly 320 kilowatt hours per month. Compare this against your baseline consumption. If your old lighting used 800 kilowatt hours monthly, your LED system reduces this to 320 kilowatt hours, saving 480 kilowatt hours monthly. Multiply monthly savings by 12 to get annual savings, then multiply by your electricity rate per kilowatt hour to see the financial benefit. At 20 pence per kilowatt hour, 480 kilowatt hours monthly saves 960 pounds annually.
Understand the variables that affect real world performance. Suppliers’ efficiency claims assume optimal conditions. Dirty fixtures perform worse than clean ones. A warehouse with dusty air might see 10 to 15 percent degradation in output compared to a clean office. Ageing affects performance too. LED output gradually diminishes over time, typically declining to about 70 percent of initial output after 50,000 hours. This is normal and expected, not failure. Your calculations should include this degradation factor. Some suppliers provide metrics and calculators to verify energy savings and lifecycle impacts of LED installations, guiding realistic expectations. Temperature also matters. LEDs in a hot environment like a kitchen perform differently than those in a cold warehouse. Maintenance practices affect results too. Regular cleaning of fittings maintains performance, whilst neglect allows dust accumulation to reduce output significantly.
Validate lifespan claims critically. Manufacturers state LED lifespan, typically 50,000 to 100,000 hours depending on quality. That’s genuinely longer than traditional lighting. However, lifespan can be affected by several factors in your specific environment. Temperature extremes shorten lifespan. Frequent switching on and off wears components. Power quality issues from electrical spikes or surges damage electronics. Moisture ingress damages drivers in humid environments. Your environment assessment should have documented these conditions, so cross reference them against the fittings you’ve selected. Quality manufacturers test extensively and publish data showing how their products perform across temperature ranges and environmental conditions. Cheaper products sometimes claim high lifespan without supporting evidence. Key factors influencing realised energy savings and lifespan in operational commercial environments include proper installation, maintenance, environmental control, and power quality management.
Calculate payback period to justify the investment. Payback period is total project cost divided by annual energy savings. If your LED retrofit costs 50,000 pounds and saves 960 pounds annually on energy, the payback period is roughly 52 years. That sounds terrible, but factor in other benefits. Reduced maintenance because LEDs last longer saves money. Improved lighting quality reduces absenteeism and increases productivity. Reduced heat output from LEDs lowers air conditioning costs in summer. Environmental benefits matter for corporate responsibility. When you add maintenance savings of maybe 100 to 200 pounds annually and other operational benefits, payback might drop to 30 to 40 years. Most commercial LEDs last 10 to 15 years, so energy savings alone might not justify the project, but operational benefits often do.
Professional advice Request a detailed energy audit from your LED supplier showing baseline consumption, projected consumption with LEDs, annual savings, and payback period calculations tailored to your facility’s operating hours and electricity rates. This document becomes your business case for management approval.
Step 6: Arrange professional installation and final testing
Your planning is complete and products are selected. Now comes the phase where your vision becomes reality. Professional installation and thorough testing ensure your LED system performs as designed, meets safety standards, and delivers the benefits you calculated. Poor installation or inadequate testing creates problems that emerge weeks or months later when they become expensive and disruptive to fix.
Start by selecting qualified installation professionals. This is not a task for untrained staff or bargain contractors. LED installation involves electrical work that must comply with Building Regulations and safety standards. Improper installation creates fire risk, electrical hazards, and warranty voidance. Ask your LED supplier for recommended installers. Many suppliers maintain lists of certified professionals they trust with their products. Alternatively, verify credentials independently. Look for installers holding relevant qualifications such as National Vocational Qualifications in electrical installation or membership of professional bodies. Ask whether they have liability insurance and whether they provide guarantees on their workmanship. Request references from similar projects they have completed. A reputable installer will provide these without hesitation. Professional registration emphasises competence in installation and maintenance of electrical and lighting systems to ensure proper installation and testing, supporting safety and performance standards. Employing accredited technicians protects your facility and your investment.
Plan the installation schedule carefully to minimise disruption to your operations. A retail shop cannot close for a week during installation. An office needs lighting during working hours. A warehouse operates around the clock. Discuss phasing options with your installer. Can you do sections at a time? Can you install overnight or weekends? Will temporary lighting be needed during the transition? A good installer understands operational constraints and works around them. They’ll also plan for contingencies. Existing infrastructure might present unexpected challenges once work begins. Old wiring might be damaged or unsuitable. Ceiling structures might not support the mounting system you planned. Asbestos containing materials might be encountered in older buildings. Discuss how your contract handles these scenarios before work starts.
Require a detailed commissioning and testing plan. Installation is just the first part. Testing verifies that everything works correctly before you sign off and hand over the system. Your installer should provide a comprehensive checklist covering all aspects. Are all fittings installed correctly and securely? Do all fittings power on and off reliably? Do dimmers operate smoothly across the full range without flickering? Are light levels correct across all areas? Do uniformity measurements meet specifications? Are emergency lighting circuits functioning properly? Are all safety devices operational? Is the control system responding correctly? Can sensors detect occupancy and daylight as programmed? Are all wiring connections secure and properly labelled? Standards for commissioning, verification, and final testing ensure lighting installations meet design specifications and regulatory requirements in commercial environments. Request written test results documenting that all parameters have been verified and meet your specifications.
Witness key testing yourself or designate a representative. You need assurance that testing was thorough and honest. Walk through areas with the installer and observe measurements being taken. Ask questions if results seem questionable. Request that any issues found during testing be corrected before final sign off. Some problems might be minor, like needing to adjust a fitting’s angle for better distribution. Others might be significant, like discovering a circuit that draws more power than anticipated. Address everything before the installer leaves. Going back later to fix problems disrupts operations and costs more money.
Obtain comprehensive documentation before you accept the installation. Request as built drawings showing exactly where each fitting is located and which circuits they’re on. Request a maintenance manual detailing how to operate controls, perform cleaning, replace components, and troubleshoot common issues. Request warranty documents clearly stating coverage periods and what is included. Request test certificates proving all measurements and safety checks were completed. Request records of all materials installed including manufacturer details and serial numbers. This documentation becomes your reference for the life of the system and is essential if problems occur later.
Arrange staff training on operating and maintaining your new system. Even simple systems benefit from staff understanding how to use them properly. Train designated staff on controlling lighting manually, adjusting dimming, understanding how occupancy sensors work, and recognising when something isn’t functioning correctly. Teach maintenance staff how to clean fittings safely without damaging components. Explain the LED system’s normal characteristics so they don’t mistake normal behaviour for faults. Properly trained staff use your lighting more effectively and catch problems early.
Professional advice Establish a relationship with your LED supplier or installer for ongoing support. Ask about preventative maintenance schedules and what minor issues you can address in house versus what requires professional attention. Annual maintenance inspections can catch problems early and optimise performance throughout the system’s lifespan.
Upgrade Your UK Commercial Facility with Expert LED Lighting Solutions
Choosing the right LED lighting that matches your facility’s exact needs can be complex. With challenges such as assessing lighting requirements, calculating coverage, selecting suitable products, and ensuring electrical compatibility, business owners face high risks of costly mistakes and inefficient installations. At Ledsupplyandfit.co.uk, we understand the importance of reliable, energy-saving lighting that enhances productivity and meets safety standards across shops, offices, warehouses, and more.
Our comprehensive services include tailored LED product recommendations, professional installation, and ongoing support designed specifically for commercial environments. Benefit from expert guidance on luminance levels, IP ratings, and warranties to achieve your desired lighting quality and long-term savings. Ready to transform your workspace with dependable LED solutions backed by next-day delivery and bulk discounts? Visit Ledsupplyandfit.co.uk today and start your journey to efficient lighting.
Discover how easy it is to meet British Standards and improve your facility’s environment with our professional LED lighting supply and fitting services. Take the first step now by exploring our offerings and consulting our specialists for a personalised lighting plan that suits your commercial project needs.
Frequently Asked Questions
How do I assess the lighting requirements for my commercial facility?
Start by identifying the activities in each area of your facility, as different spaces have unique lighting needs. Document the current lighting levels and any specific standards, then evaluate the existing infrastructure to determine if retrofitting is possible or if new installations are necessary.
What are the recommended lux levels for different areas in a commercial setting?
The recommended lux levels vary based on function: for offices, aim for 500 lux; detailed assembly areas may need 750 to 1000 lux; while retail spaces typically require around 500 lux. Calculate the specific lux levels needed based on the activities performed in each area to ensure optimal lighting conditions.
How do I select the right LED products for my environment?
Match your environmental conditions to the product specifications, focusing on features like moisture resistance, colour rendering index, and operating temperature. Review technical specifications like lumens output and power consumption to ensure the chosen LEDs will perform reliably in your setting.
Why is it important to verify the compatibility of my existing electrical systems with new LED fittings?
Compatibility checks prevent issues like flickering and premature failure due to inadequate electrical support. Conduct a thorough assessment of your current electrical capacity and wiring condition to identify any required upgrades before installation begins.
How can I ensure the energy savings claimed by my LED supplier are realistic?
Calculate your baseline energy consumption and then compare it to the projected consumption of your new LED system. Document your current lighting costs and evaluate projected annual savings to confirm the financial benefits of your LED investment.
What steps should I take to arrange for professional installation and testing of the new LED system?
Select qualified installers with proper credentials to comply with safety standards. Establish a detailed installation plan that minimises disruption, and require comprehensive testing to verify that all lighting systems operate correctly before final sign-off.