Warehouse Lighting Installation Guide for LED Upgrades
Choosing the right lighting for a warehouse is more complex than simply swapping bulbs. Facilities managers across the United Kingdom know that poor visibility can slow operations, threaten safety, and hike up bills. Upgrading to energy-efficient LED lighting brings the promise of reduced costs, but true value comes from meeting compliance standards and designing a system that matches every zone’s needs.
Table of Contents
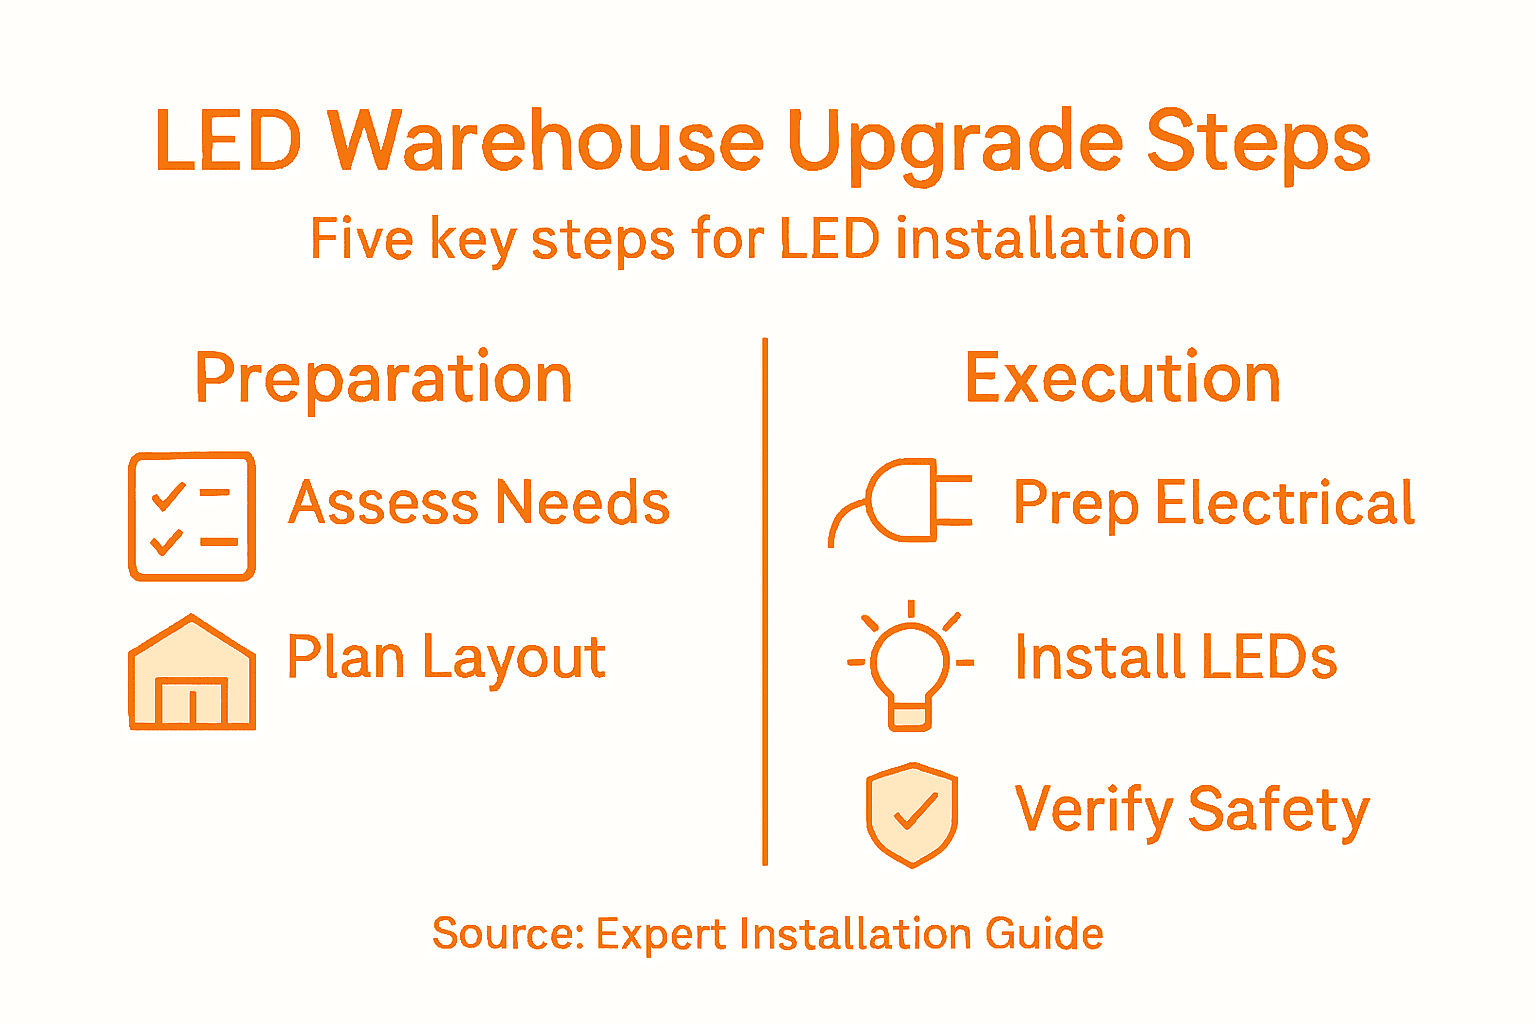
- Step 1: Assess Warehouse Lighting Needs And Compliance
- Step 2: Plan Fixture Layout And Select LED Solutions
- Step 3: Prepare Electrical Systems And Workspace
- Step 4: Install LED Lighting And Controls
- Step 5: Verify Installation And Conduct Safety Checks
Summary of Key Insights
| Essential Insight | Detailed Explanation |
|---|---|
| 1. Assess lighting needs accurately | Understand your warehouse zones and their specific lighting requirements prior to making any upgrades to ensure safety and compliance. |
| 2. Comply with regulations | Familiarise yourself with the relevant lighting standards and local codes to avoid costly penalties and ensure safety in your warehouse operations. |
| 3. Plan effective fixture layout | Strategically position LED fixtures to maximise light distribution and eliminate dark spots, enhancing visibility and safety for workers. |
| 4. Prepare electrical systems properly | Inspect and verify your electrical infrastructure before the installation to prevent delays and ensure it can handle the LED load efficiently. |
| 5. Conduct thorough post-installation checks | Perform a comprehensive verification of all fixtures and connections to ensure safety, functionality and compliance after installation. |
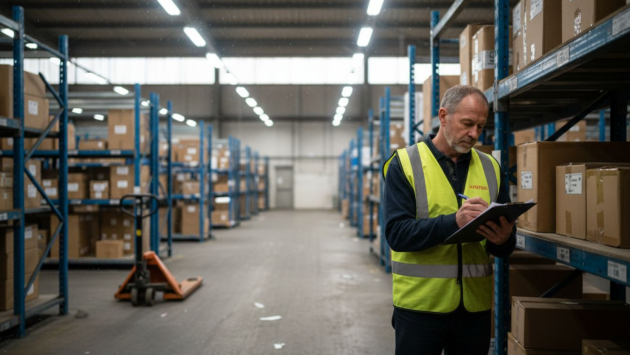
Step 1: Assess warehouse lighting needs and compliance
Before upgrading to LED lighting, you need to understand exactly what your warehouse requires. This means evaluating current illumination levels, identifying problem areas, and confirming you meet all relevant regulations. Getting this right prevents costly mistakes and ensures your new system delivers both safety and savings.
Start by documenting your warehouse layout and function. Different zones require different light levels depending on their purpose. A loading dock needs brighter lighting than a storage area, and picking stations have different requirements than general warehousing spaces.
Measure existing light levels in key areas using a light meter. Walk through your warehouse during normal operations and note where workers struggle to see clearly, where shadows pool, and where overexposure wastes energy. Pay special attention to:
- Loading and unloading zones
- Product picking and packing areas
- Storage racks and shelving
- Emergency exits and passageways
- Office and break areas within the warehouse
Next, understand your compliance obligations. UK warehouses must align with ASHRAE/IES Standard 90.1-2022, which sets power limits and illuminance requirements for interior and exterior lighting. The standard applies whether your warehouse is conditioned or unconditioned, though requirements vary by space type.
Check your local building codes as well. Many UK regions have adopted energy codes that reference ASHRAE standards. Your facility may also have specific insurance or operational requirements that affect lighting design. Some industries require particular illumination levels for safety and liability reasons.
Meeting compliance standards from the start prevents expensive remedial work and ensures your LED system operates legally and safely.
Create a simple spreadsheet documenting each zone, its current light levels, its intended function, and the illuminance it requires. This becomes your baseline for selecting the right LED fixtures and calculating your upgrade costs.
Here is a summary of lighting requirements for different warehouse zones:
| Warehouse Zone | Typical Task | Suggested Illuminance (lux) | Impact of Adequate Lighting |
|---|---|---|---|
| Loading Dock | Unloading, logistics | 200–300 | Safer operations, fewer accidents |
| Product Picking Area | Detailed selection/handling | 300–500 | Increased accuracy, speed |
| Storage Racks/Shelving | General storage | 100–200 | Improved navigation, safety |
| Emergency Exits | Safety evacuation | 100–150 | Ensures clear escape routes |
| Office/Break Area | Paperwork, meetings | 300–500 | Enhanced comfort, productivity |
Pro tip: Contact your local building control office before finalising your design—they can clarify whether your warehouse qualifies as conditioned or unconditioned space, which directly affects which compliance standards apply and what illuminance levels you’ll need to achieve.
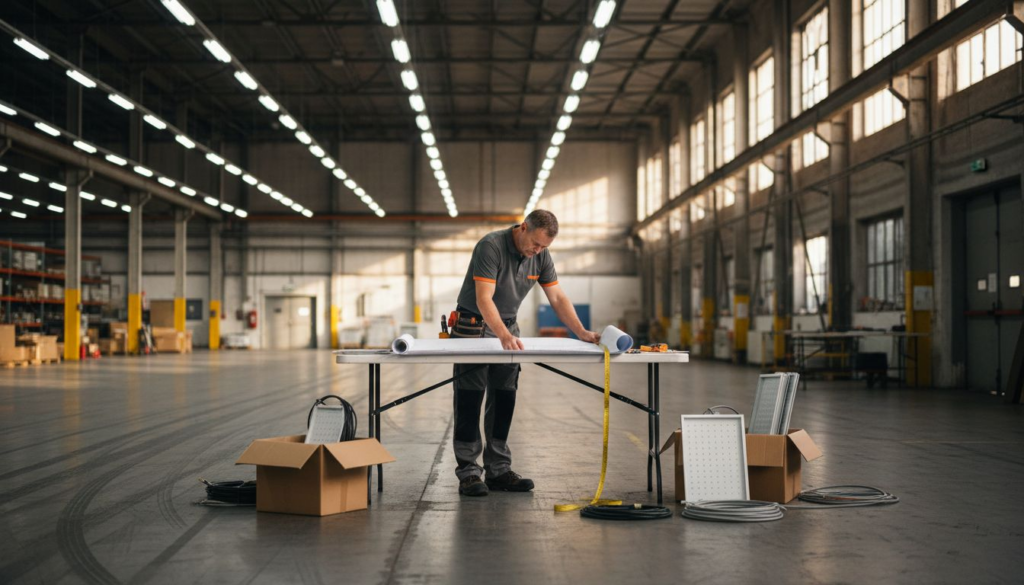
Step 2: Plan fixture layout and select LED solutions
With your warehouse assessment complete, you’re ready to design your LED system. This step determines where fixtures go, what type you choose, and how they’ll work together to meet your lighting requirements efficiently and safely.
Start by creating a scale floor plan of your warehouse. Mark all the zones you documented earlier—loading areas, picking stations, storage sections, and offices. Use this plan to visualise fixture placement and ensure even light distribution across each space.
Fixture placement follows specific principles to avoid dark spots and wasted light. Consider these placement strategies:
- Position fixtures to cover work surfaces evenly without creating shadows
- Space fixtures based on ceiling height and fixture intensity
- Account for obstacles like storage racks and machinery that block light
- Plan for redundancy so one malfunctioning fixture doesn’t leave areas dark
Next, select your LED fixtures based on task requirements. Different warehouse zones need different fixture types. Loading docks benefit from high-bay LED fixtures with strong downward focus, whilst picking areas might use linear or panel lights for even spread. Industrial lighting design principles emphasise matching fixture type to task and ensuring appropriate colour rendering for worker visibility.
Consider these fixture specifications carefully:
- Colour temperature (2700K to 5000K depending on task)
- Colour rendering index (CRI) for accurate product identification
- Beam angle to match your ceiling height and spacing
- Lumen output to achieve required illuminance levels
- Dimmability for energy savings and flexibility
Calculate the number of fixtures needed using a simple formula: (room area × required illuminance) ÷ (fixture lumens × room utilisation factor). Your warehouse assessment data makes this straightforward.
Selecting fixtures matched to your specific warehouse tasks prevents over-lighting (which wastes energy) and under-lighting (which creates safety risks).
Request samples from your LED supplier and test them in your warehouse before committing to full installation. What looks good in a showroom might perform differently in your actual space with your specific ceiling height and reflective surfaces.
Pro tip: Plan your electrical distribution and mounting infrastructure alongside fixture selection—knowing where power is available and how fixtures will mount (ceiling, wall, or track) prevents expensive changes during installation.
Step 3: Prepare electrical systems and workspace
Before installation begins, your electrical infrastructure and workspace must be ready. This preparation prevents delays, ensures safety, and gives installers the access they need to work efficiently and securely.

Start by having a qualified electrician inspect your existing electrical system. They’ll check panel capacity, wiring condition, and whether your system can support the LED load. LED fixtures draw less power than traditional lighting, but you still need adequate distribution to all zones.
Your electrician should verify:
- Total available capacity at your main electrical panel
- Condition of existing circuits serving lighting areas
- Whether circuits need upgrading or adding for new fixture locations
- Compliance with current building regulations and safety standards
Next, audit your electrical distribution layout. Identify where power feeds into each warehouse section and plan how new LED fixtures will connect. Some areas may need new circuits or branch lines. Quality and safety in electrical installations requires testing and verification of protective devices, so ensure your electrician documents everything as work progresses.
Clear the physical workspace where installation will happen. This means removing obstacles, relocating stored items, and ensuring safe access to mounting locations. Workers need clear paths and stable footing, especially when working at height.
Prepare these workspace elements:
- Clear access routes to all fixture locations
- Remove or secure items stored on or near mounting surfaces
- Arrange storage areas for old fixtures and packaging
- Confirm adequate working room around electrical panels and junction boxes
- Ensure proper electrical equipment working space exists for safe access and maintenance
Schedule installation during periods that minimise business disruption. Many facilities managers arrange evening or weekend work for this reason. Communicate timelines clearly with your installers and your staff.
Thorough preparation prevents installation delays and keeps your facility running smoothly during the upgrade process.
Confirm that your electrical contractor has all necessary permits and insurance. Request a final walkthrough with your installers to identify any last-minute issues before work begins.
Pro tip: Document your existing electrical layout with photos and measurements before work starts—this record proves invaluable if you need to troubleshoot issues months after installation or plan future upgrades.
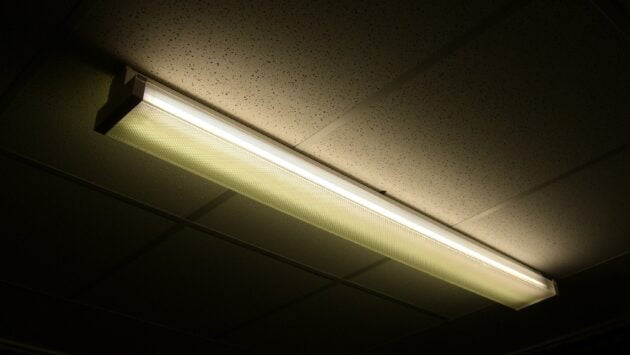
Step 4: Install LED lighting and controls
With your electrical systems prepared and workspace cleared, your installers can now mount fixtures and configure controls. Proper installation ensures your LED system performs reliably and delivers the energy savings you’ve planned for.
Your installation team will follow a systematic sequence. They begin by mounting fixture hardware at predetermined locations, ensuring secure fastening and proper alignment. Each fixture must be installed level and at the correct spacing to maintain even light distribution across your warehouse.
The installation process typically follows these stages:
- Mount fixture housings to ceiling or walls using appropriate fasteners
- Run electrical connections from the nearest circuit to each fixture
- Connect fixtures to control wiring if using occupancy sensors or dimming
- Install and test each fixture before moving to the next zone
- Commission the entire system and verify all fixtures operate correctly
Controls significantly impact your energy savings and operational flexibility. Installing networked lighting controls helps you monitor and adjust your system remotely, enabling occupancy-based dimming and energy-use tracking. Consider adding:
- Occupancy sensors to turn lights off in unoccupied areas
- Daylight harvesting to reduce artificial light when natural light is available
- Dimming controls for areas where full brightness isn’t always needed
- Centralised monitoring to track energy consumption and system performance
Electric lighting controls integration optimises energy efficiency and allows easy adjustments as your warehouse needs change. Proper commissioning ensures controls work as designed.
Use this comparison to better understand common LED control types:
| Control Type | Main Function | Energy Saving Potential | Best for Warehouse Areas |
|---|---|---|---|
| Occupancy Sensor | Detects movement, auto on/off | High, reduces idle lighting | Aisleways, storage racks |
| Daylight Harvesting | Adjusts for natural light | Medium, matches daylight | Near windows, loading docks |
| Dimmable Controls | Manual/auto brightness adjust | Medium, fine-tunes demand | Picking zones, break and office areas |
| Centralised System | Remote monitoring/adjustment | Highest, whole site control | Facilities with varied operational needs |
Once all fixtures are installed and wired, your electrician performs final inspection and testing. They verify proper voltage, confirm all protective devices function correctly, and test control systems. This critical step prevents failures and ensures your system meets code requirements.
Professional commissioning catches problems before they disrupt your operations and confirms your system delivers promised energy savings.
Request comprehensive documentation from your installers, including fixture schedules, control settings, and system diagrams. This documentation proves invaluable for troubleshooting and future maintenance.
Pro tip: Ask your installer to spend time training your maintenance staff on basic control adjustments and how to identify fixture problems—this knowledge reduces downtime when issues arise months or years after installation.
Step 5: Verify installation and conduct safety checks
Your LED system is installed, but before operations resume, you need to verify everything works safely and correctly. This verification step protects your workers, confirms code compliance, and validates that your investment delivers promised results.
Start with a comprehensive visual inspection of all fixtures and connections. Walk through each warehouse zone and check that fixtures are level, secure, and properly positioned. Look for any visible damage, loose wiring, or mounting issues that need correction before the system operates.
Your inspection should cover:
- Fixture alignment and secure mounting at all locations
- Electrical connections are tight and properly insulated
- No visible damage to fixtures or wiring during installation
- Control sensor placement and wiring are correct
- Emergency lighting functions independently
Next, conduct functional testing of all systems. Turn on each lighting zone and verify that all fixtures illuminate correctly. Test controls by triggering occupancy sensors and dimming functions to confirm they respond as designed. Check that emergency lighting activates when needed.
Post-installation verification includes comprehensive electrical tests to assure safety and functionality. Your electrician should perform these critical tests:
- Measure voltage at fixture circuits to confirm proper supply
- Test protective devices to ensure they function correctly
- Verify grounding and bonding connections
- Check circuit loads against design specifications
- Confirm all safety switches and emergency systems operate
Document all test results and keep records for your compliance file. These records prove your system meets regulations and become valuable if you need to troubleshoot problems later.
Conducting safety checks after installation is part of good industry practice and confirms your LED system is secure and effective. Request your installer provide a detailed commissioning report that documents all testing.
Thorough verification catches problems before they affect operations and confirms your system meets all safety and performance standards.
Once testing is complete and all issues resolved, have your team walk the warehouse and observe the new lighting during normal work. Ask workers for feedback on visibility, glare, and comfort in different areas. This practical assessment often reveals adjustments that testing alone might miss.
Pro tip: Keep all commissioning reports, test certificates, and maintenance records in a single binder or digital file—organised documentation makes future servicing faster and helps prove compliance if inspectors ever visit your facility.
Upgrade Your Warehouse Lighting with Expert LED Solutions
Upgrading warehouse lighting to energy-efficient LED systems can feel overwhelming when faced with complex compliance standards, careful fixture selection, and electrical preparations. If you want to avoid costly mistakes, ensure safety, and achieve real energy savings, you need a trusted partner who understands warehouse lighting challenges—from assessing illuminance levels and selecting the right fixtures to professional installation and commissioning.
Explore how Ledsupplyandfit.co.uk supports UK commercial clients with a complete range of LED lighting products and expert installation services tailored for warehouses. Benefit from:
- Comprehensive advice on meeting ASHRAE and UK building regulations
- High-quality LED fixtures designed for specific warehouse zones like loading docks and picking areas
- Skilled electricians ensuring safe, code-compliant installations
Don’t leave your lighting upgrade to chance. Visit our main website now to access energy-efficient solutions with next-day delivery and professional fitting. Start your journey to a brighter, safer warehouse today.
Frequently Asked Questions
What initial steps should I take to assess my warehouse’s lighting needs before upgrading to LED?
Start by evaluating the existing illumination levels and identifying problem areas in your warehouse. Document the layout and function of different zones, then measure light levels using a light meter to confirm compliance with relevant standards.
How can I ensure that my LED lighting installation meets safety and regulatory compliance?
Review all relevant building codes and compliance standards that apply to your warehouse. Create a spreadsheet detailing each zone, current light levels, and required illuminance to ensure that your new LED system is legally compliant and safe.
What factors should I consider when planning the layout for my new LED fixtures?
Consider fixture placement to avoid dark spots and optimise light distribution. Take into account ceiling height, obstacles like storage racks, and the specific lighting requirements for each zone to maximise efficiency and safety.
How do I prepare my electrical systems before the LED lighting installation?
Have a qualified electrician inspect your existing electrical system for capacity and wiring condition. Ensure that all necessary upgrades are made and that circuits are properly designed to accommodate the new LED fixtures.
What are some key steps during the installation of LED lighting and controls?
Your installation team should follow a systematic sequence, starting with mounting fixtures and connecting electrical wiring. Ensure that controls are integrated for energy management, and test each fixture before completing the installation.
How can I verify that my new LED lighting system is working correctly after installation?
Conduct a thorough visual inspection of the fixtures and connections, then perform functional tests for lighting and control systems. Document all test results to confirm that everything operates according to the design specifications.