Restaurant lighting workflow: step-by-step design guide
TL;DR:
- Structured lighting design enhances ambiance, brand identity, and energy efficiency in restaurants.
- Layered lighting with high-CRI LEDs and preset scenes creates flexible, memorable dining environments.
- Proper planning, installation, and fine-tuning prevent common lighting issues and optimize costs.
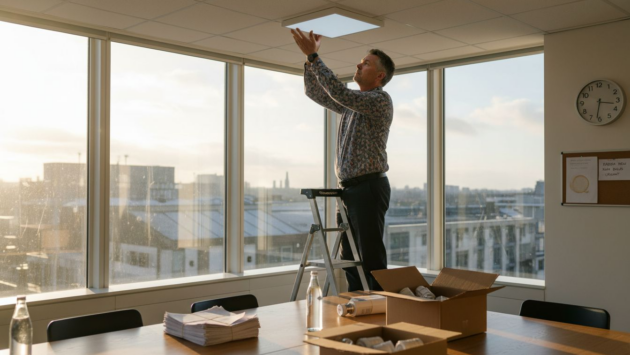
Dim, flickering overheads. Tables bathed in cold, clinical white. A dining room that feels more like a canteen than a destination. Poor lighting quietly destroys the atmosphere you’ve worked hard to build, and it silently inflates your energy bills at the same time. The good news is that with a structured, step-by-step workflow, UK restaurant owners and managers can design lighting that elevates ambiance, reinforces brand identity, and cuts running costs significantly. This guide walks you through every stage, from setting clear goals to fine-tuning your final scheme, so you can stop guessing and start creating spaces guests genuinely want to return to.
Key Takeaways
| Point | Details |
|---|---|
| Layered lighting is crucial | A combination of ambient, task, accent, and decorative lighting creates the perfect restaurant ambiance. |
| Technology and planning save money | LEDs with scene control boost efficiency and cut costs while elevating brand experience. |
| Scene-based workflow beats patches | Following a strategic workflow ensures consistent results and avoids costly mistakes. |
| Avoid common pitfalls | Good CRI, glare control, and proper layering prevent harsh lighting and dull spaces. |
Understanding restaurant lighting goals and requirements
Before a single fitting goes up, you need clarity on what your lighting must achieve. Most restaurant owners jump straight to choosing bulbs or fittings, which is exactly why so many end up with schemes that feel disconnected or flat. A structured approach starts with defining your goals.
The four most common lighting goals in a restaurant setting are: creating the right ambiance, expressing brand identity, maximising energy efficiency, and enabling flexible scene-setting across different dayparts. These goals are not mutually exclusive. In fact, the best schemes serve all four simultaneously.
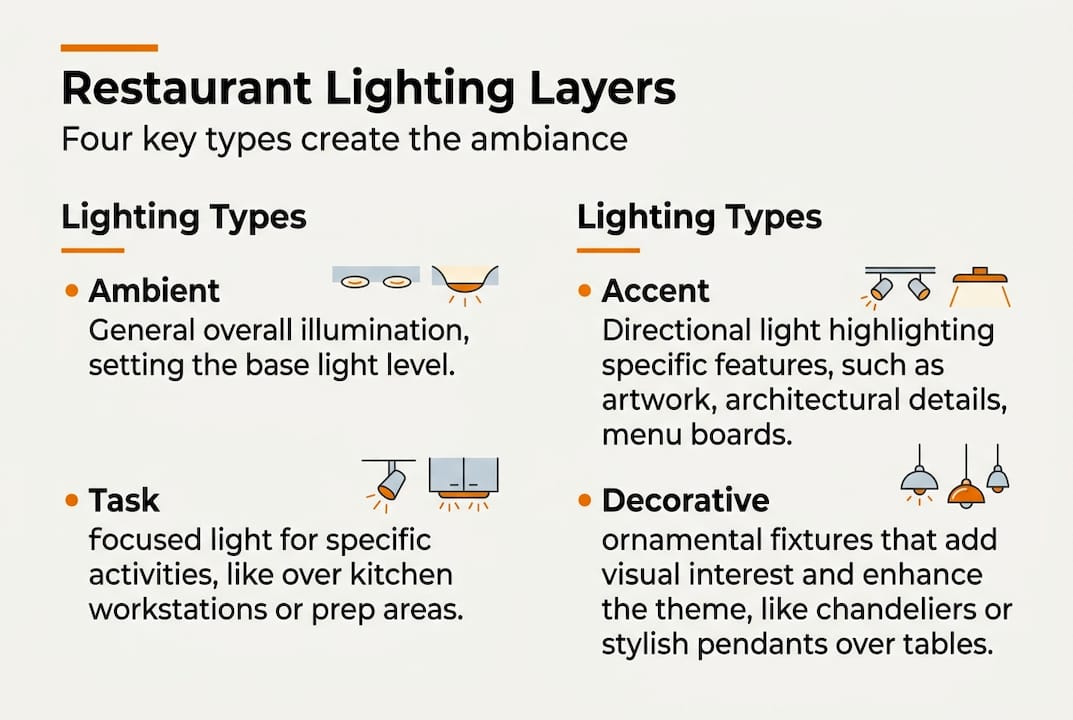
To achieve this, lighting design principles point to four essential layers that every restaurant should incorporate:
- Ambient lighting forms the base layer, typically accounting for 50 to 75% of total light output. It sets the overall brightness and mood.
- Task lighting is functional, positioned over prep areas, service counters, and menus without spilling into the dining zone.
- Accent lighting draws the eye to focal points such as artwork, architectural features, or a feature wall.
- Decorative lighting makes a statement. Think pendant clusters or a sculptural chandelier that doubles as a brand moment.
As energy-saving restaurant lighting strategies show, layering these four elements is what separates a memorable dining space from a forgettable one.
| Lighting layer | Primary purpose | Design notes |
|---|---|---|
| Ambient | Overall illumination | Warm CCT (2700K to 3000K), dimmable |
| Task | Functional visibility | Directed, no glare into dining areas |
| Accent | Highlight features | Adjustable spotlights, wall washers |
| Decorative | Brand expression | Statement fittings, visible bulbs |
Typical constraints you’ll face include retrofit limitations in listed buildings, ceiling height restrictions, budget caps, and compliance with UK energy standards. Mapping these early prevents expensive surprises later.
Pro Tip: Hold a short briefing with your front-of-house manager and chef before finalising any lighting plan. Their input on task visibility and ambiance preferences will save you costly revisions down the line.
With goals and layers defined, you have a solid foundation. The perfect ambiance lighting process depends entirely on this groundwork being done properly.
Preparation: Assessing your space and selecting the right technology
With your objectives clear, the next step is to examine your space and select technology that aligns with both functionality and branding.
Start with a proper space audit. Measure your room dimensions and ceiling heights accurately. Identify your key zones: dining areas, the bar, service stations, and the kitchen. Each zone has different lighting requirements, and treating them as one homogeneous space is one of the most common mistakes we see.
Next, assess your existing lighting. Note the colour temperature (CCT) of current fittings. Warm white sits around 2700K to 3000K and suits most dining environments. Cool white (4000K and above) can feel harsh and clinical in a restaurant context. Also check the Colour Rendering Index (CRI) of your current sources. A CRI below 80 will make food look dull and unappetising, which directly affects how guests perceive quality.
Real UK restaurant case studies reinforce this point. Layered, high-CRI dimmable LEDs at venues like Six by Nico Bristol created flexible, brand-aligned ambiance that adapted across service periods. High-CRI dimmable LEDs delivered 20% longer customer dwell time at Six by Nico, directly boosting sales per cover.
Here’s a summary of the main technology options available to you:
| Technology | Key benefit | Consideration |
|---|---|---|
| Dimmable LED | Up to 70% energy saving | Requires compatible dimmer |
| Smart controls | Scene pre-sets, app control | Higher upfront cost |
| DALI dimming systems | Granular zone control | Best for larger venues |
| Tunable white LED | Adjustable CCT by daypart | Ideal for all-day dining |
For UK restaurants operating across breakfast, lunch, and dinner, dimmers with pre-set scenes are particularly valuable. A bright, energising setting for the morning rush, a softer mid-tone for lunch, and a warm, intimate scene for evening service can all be recalled at the touch of a button. The LED installation benefits for commercial venues extend well beyond the energy bill.
If you’re upgrading business lighting from fluorescent or halogen, you’ll also benefit from significantly reduced maintenance costs. LED sources typically last 50,000 hours or more, meaning far fewer replacements and less disruption to service.
Execution: Implementing a layered lighting workflow
Once you’re equipped with the right technology and an understanding of your space, it’s time to put your plan into action.
Follow this step-by-step workflow to implement your layered scheme correctly:
- Plan your layout on paper first. Mark each zone and assign a lighting layer to it. Identify switch and dimmer positions before any installation begins.
- Install ambient lighting. Start with your base layer across the full dining area. Use warm, dimmable LED downlights or cove lighting to establish the mood foundation.
- Add task lighting. Focus on the bar, service counter, and kitchen. Ensure these fittings are directed and shielded to avoid spill into the dining zone.
- Install accent lighting. Position adjustable spotlights or wall washers to highlight artwork, architectural details, or your feature wall.
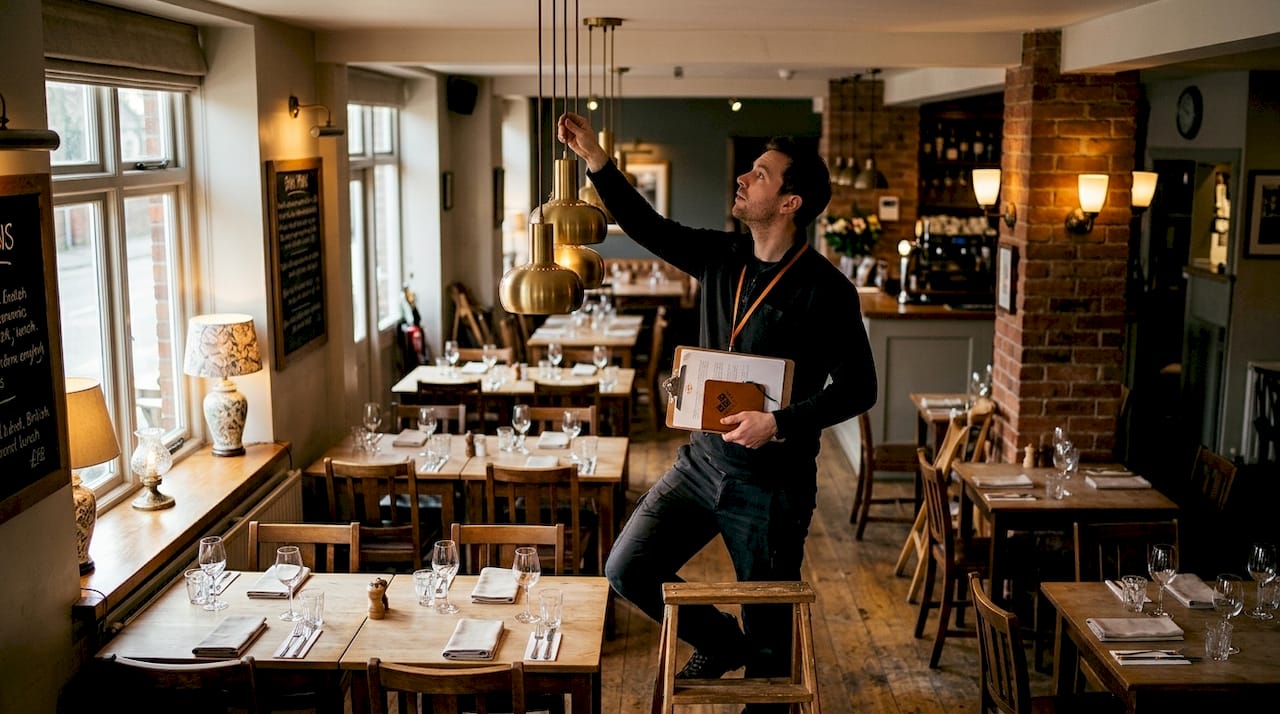
- Fit decorative elements. Hang pendants, install statement fittings, or add visible filament bulbs where brand expression matters most.
- Programme your dimmer scenes. Set at least three pre-sets: a bright daytime scene, a mid-level lunch setting, and a warm, low evening scene.
- Test every scene with staff present. Walk the room, sit at tables, and assess glare, shadow, and colour rendering before opening to guests.
Pro Tip: Pre-set lighting scenes for morning, afternoon, and evening can triple perceived ambiance quality without adding a single extra fitting. The scene does the heavy lifting.
Common pitfalls to avoid during installation include mixing colour temperatures across zones, which creates visual confusion. Inconsistent dimming, where some fittings drop faster than others, is another frequent issue that undermines the effect. Poor fixture placement directly above tables creates what lighting designers call skull lighting: harsh overhead shadows that make guests look unflattering and food look unappetising.
“Glare-free optics with a UGR below 19 ensure comfort in small dining spaces and prevent eye strain across long service periods.”
The layered lighting overview confirms that avoiding uniform brightness is critical. A flat, evenly lit room removes all depth and drama. Use your cost-saving LED tips to maximise efficiency without compromising the layered effect. The restaurant lighting workflow you follow at this stage determines everything that comes after.
Troubleshooting and fine-tuning: Avoiding common mistakes
Even the best designs need fine-tuning. Here’s how to troubleshoot and perfect your new lighting scheme.
The most frequent lighting mistakes to avoid in restaurant settings fall into five clear categories:
- Harsh downlights with no diffusion. Replace with frosted lenses or recess deeper fittings to soften the output.
- Flat, uniform brightness. Introduce dimming variation and layer your sources to create depth and contrast.
- No dimming capability. If your current fittings are non-dimmable, this is the single most impactful upgrade you can make.
- Poor colour rendering (CRI below 80). Switch to high-CRI LEDs, ideally CRI 90 or above, to make food and interiors look their best.
- Mixed colour temperatures. Audit every fitting and standardise to a single CCT across each zone.
Post-installation, use a light meter to measure actual lux levels at table height. Dining areas typically benefit from 50 to 150 lux for evening service, while task areas need 300 to 500 lux. These measurements give you objective data rather than guesswork.
Customer feedback is equally valuable. Ask your front-of-house team to note any comments about brightness, comfort, or atmosphere in the first two weeks after a change. Guests rarely say “the CRI is too low” but they will say the food looked a bit grey or the room felt cold.
“Don’t mix warm and cool light temperatures. It disrupts dining focus and lowers food appeal, often without guests being able to articulate exactly why.”
Small spaces carry additional risk. UGR below 19 optics are essential in compact dining rooms where glare has nowhere to hide. The LED upgrade benefits are well documented, and sustainable lighting explained for UK businesses shows that fine-tuning your scheme also reduces your carbon footprint over time.
Why a strategic workflow beats ad-hoc lighting fixes
After exploring the step-by-step process and the tricks for lighting success, it’s worth considering why taking a structured, workflow-driven approach is genuinely transformative rather than simply useful.
We see it regularly. A restaurant owner replaces a few fittings here, adds a pendant there, and ends up with a scheme that is visually inconsistent and energetically wasteful. Short-term fixes create lasting problems: mismatched colour temperatures, gaps in coverage, and a brand identity that the lighting actively contradicts rather than supports.
Top UK venues invest in end-to-end planning and the results speak clearly. Venues like Six by Nico Bristol demonstrate that combining high-CRI, dimmable LED with pre-set scenes produces flexible, branded dining environments that adapt across every service period. That is not accidental. It is the direct result of treating lighting as a system rather than a collection of individual products.
Adopting a workflow mindset also protects your investment. When every decision connects back to your original goals, you avoid the expensive cycle of replacing fittings that were never right for the space. Explore scene-based lighting ideas that align with this approach and you’ll quickly see how far ahead structured planning puts you.
Next steps: Transform your restaurant lighting with expert help
Ready to put these insights into action? Here’s how you can continue your lighting journey with professional support.
At LED Supply & Fit, we work with UK restaurant owners and managers to design and install lighting schemes that genuinely perform. From initial space assessment through to final scene programming, our team handles the full process.
Whether you’re starting from scratch or upgrading an existing scheme, our cost and compliance guide gives you a clear picture of what to expect on budget and regulation. Browse our top commercial LED options to find the right fittings for your venue, or get in touch directly for a tailored consultation. We offer next-day delivery across the UK and bulk pricing for larger projects.
Frequently asked questions
What are the four main layers in restaurant lighting design?
Ambient, task, accent, and decorative lighting are used together to create balanced, flexible, and visually engaging restaurant environments.
How can I reduce energy costs with restaurant lighting?
Use high-CRI, dimmable LEDs with scene controls and avoid over-lighting. Done correctly, LEDs can save up to 70% on your restaurant energy costs compared to older halogen or fluorescent sources.
What are the common mistakes in restaurant lighting?
Harsh shadows, uniform brightness, CRI neglect, lack of dimming, and mixed colour temperatures are the five most damaging mistakes, each of which is straightforward to fix once identified.
Why is CRI important in restaurant settings?
A high Colour Rendering Index ensures food and interiors appear vibrant and true to life. Neglecting CRI makes food look dull and can subtly lower guests’ perception of quality and value.
How can preset scene lighting benefit my restaurant?
Dimmers with preset scenes allow you to shift mood instantly between breakfast, lunch, and dinner service, improving customer experience without any manual adjustment during a busy shift.