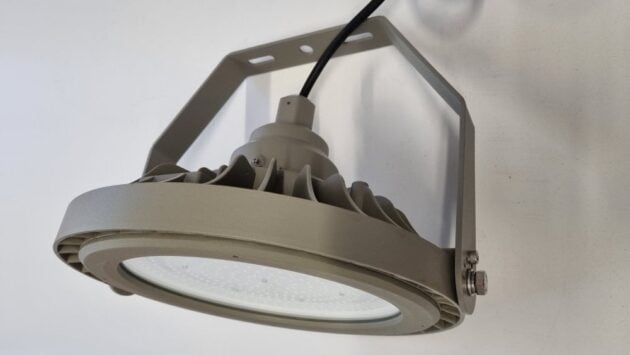

How to plan lighting upgrades for commercial properties
TL;DR:
- Outdated lighting in commercial properties results in high energy costs and is easily upgraded with proper planning.
- Conducting a comprehensive fixture audit helps prioritize investments and accurately calculate payback periods.
- Early control system planning and thorough post-installation review ensure maximum savings, safety compliance, and project success.
Outdated lighting is one of the most costly and easily fixed problems in commercial properties. If your facility still runs fluorescent tubes, metal halide high bays, or old halogen fittings, you are likely spending far more on energy than you need to. Knowing how to plan lighting upgrades properly is what separates a project that pays for itself quickly from one that creates callbacks, compliance headaches, and buyer’s remorse. This guide walks you through every stage of the process, from initial audit to post-installation review, so you can make confident decisions backed by real data.
How to plan lighting upgrades: start with a full audit
Before you order a single fitting, you need to know exactly what you have. A room-by-room walk-through is the only reliable way to gather that information. Record each fixture type, its wattage, how many hours per day it operates, and whether it sits on a dimmer circuit. Also note any visible problems: flickering, overheating, dead zones, or fittings that are past their expected service life.
Targeting fixtures by operating hours and highest power draw is the most cost-effective approach because roughly 20% of your fittings will be responsible for the majority of your energy spend. Prioritising those first gives you the fastest return on investment.
Once you have your data, run a simple payback calculation for each priority area. The formula is straightforward: annual kWh savings formula is (current wattage minus new wattage) multiplied by annual operating hours, then multiplied by your electricity rate. Divide the retrofit cost by that figure to get your payback period in years. The accuracy of this calculation depends entirely on honest operating hours, so resist the temptation to guess.
Pro Tip: Centralise all your audit data in a simple spreadsheet with columns for zone, fixture type, wattage, daily hours, dimmer compatibility, and condition. This single document becomes the backbone of your entire project.
Here is an example of how to structure your audit data:
| Zone | Current fixture | Wattage | Daily hours | Priority |
|---|---|---|---|---|
| Warehouse floor | Metal halide high bay | 400 W | 14 hrs | High |
| Office open plan | T8 fluorescent | 58 W | 10 hrs | High |
| Reception | Halogen downlight | 50 W | 8 hrs | Medium |
| Car park | HPS floodlight | 250 W | 12 hrs | High |
Key things to document during your audit:
- Fixture age and visible condition
- Whether existing dimmer switches are LED-compatible
- Areas with flicker, colour inconsistency, or inadequate light levels
- Emergency and exit lighting locations and last test dates
- Any zones with restricted access that affect installation scheduling
Choosing the right technology and controls
Not every situation calls for the same upgrade path. Lamp swaps work well where the existing luminaire is in good condition and the driver is compatible. Retrofit kits suit scenarios where the housing is worth keeping but the light source needs replacing. Full fixture replacement is often the right call for high-bay areas, car parks, or anywhere the existing fitting is structurally unsuitable for a lamp or kit.
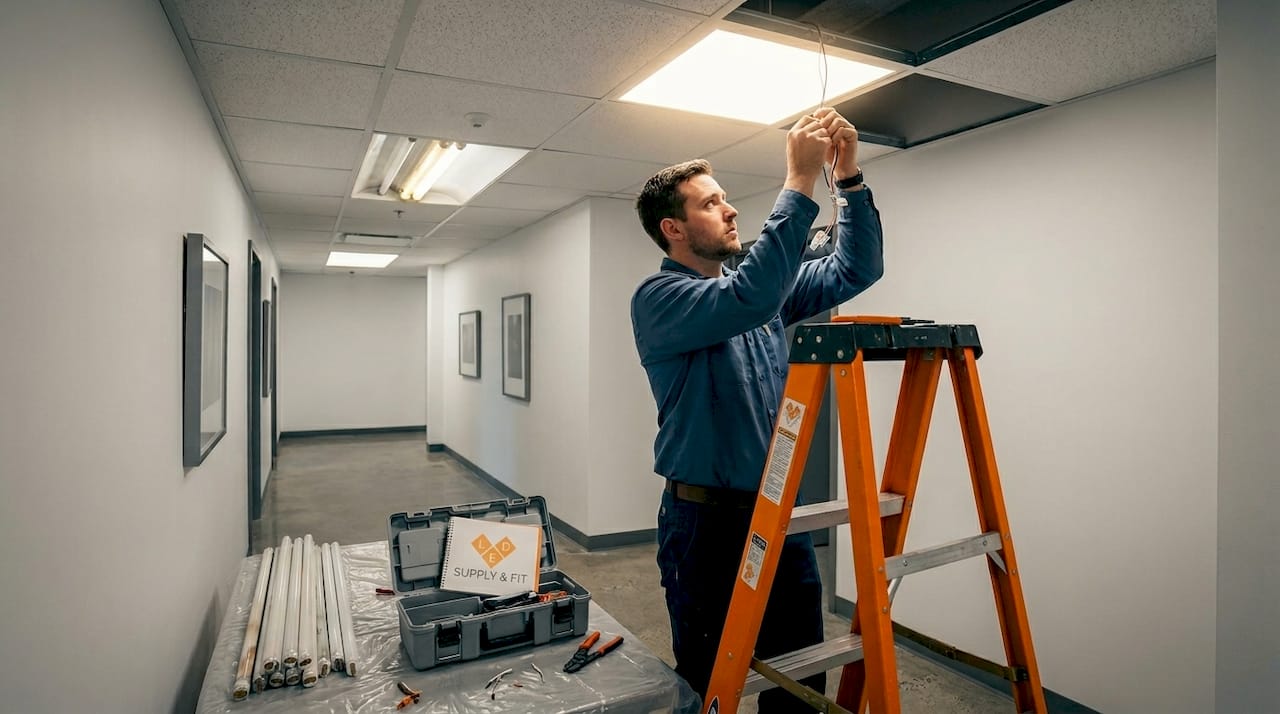
The choice of control system matters as much as the fixture itself. Planning control architecture early is what determines whether you qualify for energy rebates and whether you unlock the deeper savings that controls can deliver. The two main approaches for commercial retrofits are networked lighting controls and luminaire-level lighting controls.
| Feature | Networked lighting controls (NLC) | Luminaire-level lighting controls (LLLC) |
|---|---|---|
| Best suited for | New builds, large-scale refits | Retrofit projects in existing buildings |
| Wiring requirement | Central wiring to a network hub | Wireless, minimal additional wiring |
| Control granularity | Zone or group level | Individual fixture level |
| Rebate eligibility | Often qualifies | Often qualifies |
| Installation complexity | Higher | Lower |
Luminaire-level controls offer easier retrofits in existing buildings because they operate wirelessly, avoiding the need to run new data cabling through finished ceilings. For a busy office or hotel, that distinction saves significant time and disruption.
Control options worth considering include occupancy sensors for toilets, storerooms, and meeting rooms; daylight harvesting in perimeter offices and atriums; and scheduled dimming for car parks overnight. Each layer you add increases savings, so the question is simply which layers are practical for your building type.
Pro Tip: Order sample fittings and run a trial installation in one zone before committing to the full specification. Colour temperature and beam angle look very different on a product sheet versus a real ceiling.
Phasing and scheduling the project
A well-phased project is far less disruptive than a building-wide shutdown. Group fixtures into phases based on priority, location, and circuit type. Warehouses and production areas with the longest operating hours should come first because they deliver the fastest payback. Offices and common areas typically follow. External lighting, including car parks and signage, can often be handled as a separate phase.
Here is a practical sequence for a medium-sized commercial facility:
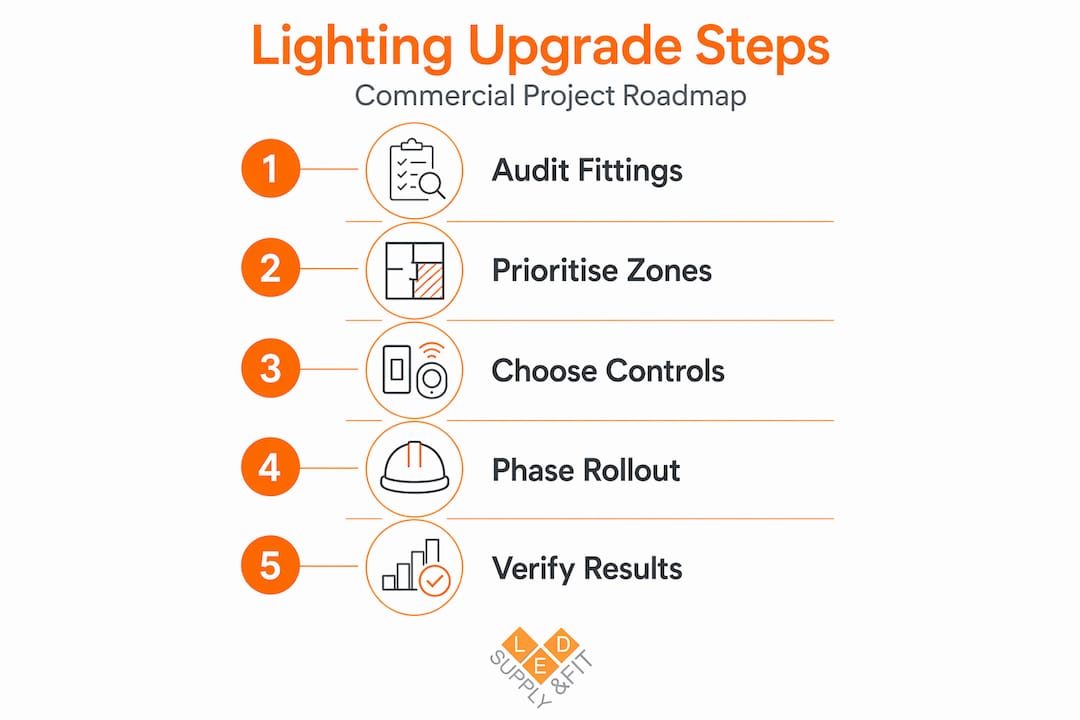
- Complete your audit and finalise the product specification for Phase 1.
- Submit for any available energy rebates before installation begins, as some schemes require pre-approval.
- Run a pilot installation in the highest-priority zone and measure the results against your payback calculation.
- Review feedback from building users on light levels, colour temperature, and controls before ordering in bulk.
- Phase the remaining zones in order of priority, scheduling work outside business hours where operational impact is a concern.
- Track all costs including equipment, installation labour, and disposal fees against your original total project cost estimate to verify budget accuracy.
Running a sample upgrade before full rollout is standard best practice for a reason: it catches compatibility problems, user objections, and specification errors before they scale. Think of it as a quality gate, not a delay.
Pro Tip: Standardise your product choice within each phase. Mixing LED drivers, trims, or fixture brands on the same circuit is a reliable source of uniformity complaints. Mismatched fixtures on the same circuit consistently generate callbacks even when both products individually meet specification.
Verifying results and maintaining performance
Once installation is complete, the work is not finished. Compare your energy bills for the two to three months following each phase against the same period from the previous year. Where you have smart controls or a building management system, pull runtime and dimming data to validate that the controls are functioning as designed.
Key areas to review post-installation:
- Energy consumption comparison against pre-upgrade baseline
- Any reports of flicker, dimming issues, or colour inconsistency from building users
- Emergency and exit lighting test records. Emergency lighting compliance in the UK requires documented six-monthly discharge tests and a maintained log book
- Control system programming, particularly occupancy sensor sensitivity and timeout settings
- Lamp and driver warranty registration for all installed products
Treat your post-installation review as a living document. The data you collect after Phase 1 will sharpen your cost estimates and product choices for every phase that follows.
Compliance for emergency and exit lighting requires product certification, spacing calculations, and regular discharge tests with a written log. Integrating this into your upgrade project from the start, rather than treating it as a separate maintenance task, saves time and avoids gaps in your safety records.
My honest take on where most projects go wrong
I have reviewed enough commercial lighting projects to know that the ones that struggle share the same handful of mistakes. The most common: control strategy is decided after the fixtures are already ordered. At that point, your options narrow, your rebate eligibility may disappear, and you often end up retrofitting a control solution that does not fully integrate with the hardware.
The second consistent problem is treating the equipment price as the whole budget. Total project costs including installation labour and maintenance reductions are what determine actual payback, and underestimating the installation side leads to unpleasant surprises halfway through a project.
In my experience, the businesses that get this right are the ones that slow down at the planning stage. They audit properly, run a pilot, lock in the control specification before ordering, and treat compliance as part of the energy strategy rather than an afterthought. The savings are real. A well-planned LED upgrade in a busy warehouse or office building will typically cut lighting energy use by 50 to 70 percent. But that result does not happen by accident.
— John
Ready to put your plan into action?
If you have worked through this guide and you are ready to move from planning to procurement, Ledsupplyandfit can help you take that next step with confidence. Ledsupplyandfit works with commercial clients across offices, warehouses, hotels, gyms, and retail spaces, supplying and fitting LED solutions that are specified for the building, not just pulled from a catalogue.

You can explore the best commercial LED products for 2026 or see how clients have achieved real results through projects like Stockton Riverside College. If you want to understand how much you could save, the smarter LED lighting solutions page breaks down what is achievable across common commercial property types. Get in touch with Ledsupplyandfit for a no-obligation consultation and a quote tailored to your facility.
FAQ
What is the first step when planning a commercial lighting upgrade?
Start with a full fixture audit. Record the type, wattage, operating hours, and condition of every fitting across your facility so you can prioritise investment based on actual energy waste rather than assumption.
How do I calculate the payback period for an LED upgrade?
Multiply the wattage reduction per fixture by annual operating hours and your electricity rate to find annual savings. Divide the total retrofit cost by that figure to get your payback period in years.
Should I choose networked or luminaire-level lighting controls?
For retrofit projects in existing buildings, luminaire-level controls are usually the practical choice because they are wireless and require minimal additional wiring. Networked systems suit larger new-build or full-refit projects.
Does emergency lighting need to be included in a lighting upgrade plan?
Yes. Emergency and exit lighting must meet UK compliance requirements including regular discharge tests and a maintained log. Integrating this into your upgrade plan from the start avoids gaps in your safety records and simplifies project management.
What is the biggest mistake businesses make when planning lighting upgrades?
Deciding on controls after the fixtures are already specified. Planning control architecture early is what secures rebate eligibility and ensures maximum energy savings from the installed system.